
From an image to
production-ready 3D.
Generate a 3D model from a photo or illustration, then split it into parts, retopologize, unwrap UVs, set materials and lighting, and export. Eight stages in one app, all running on your own PC.
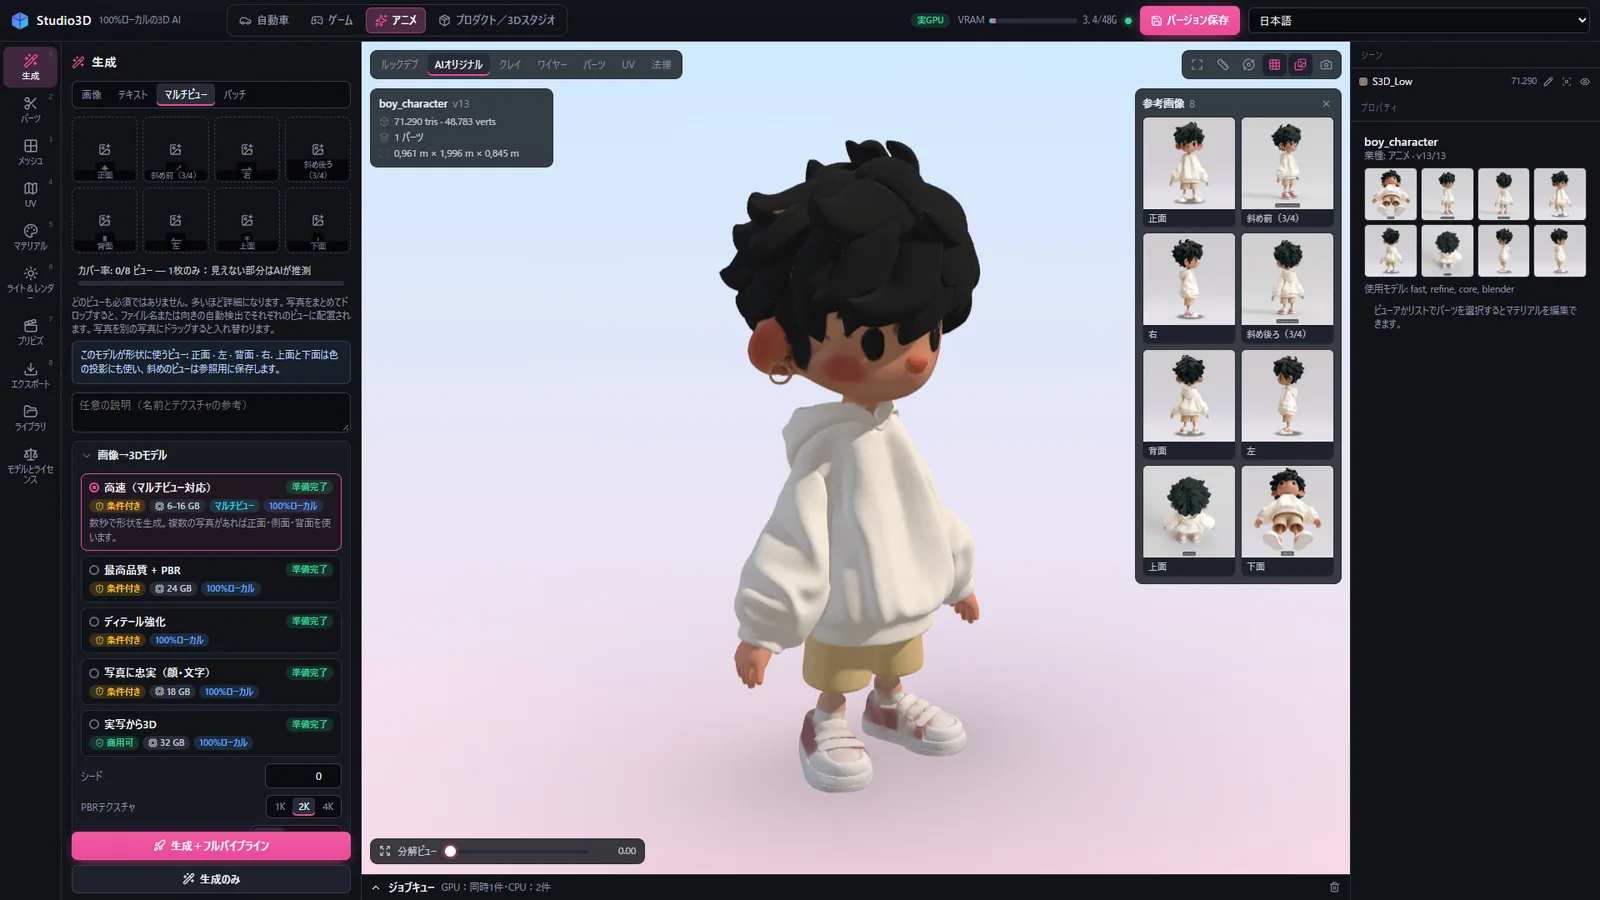
The whole 3D pipeline on one screen.
100% local
Models and photos never leave your company, so unreleased designs are safe to work with.
No API fees
There is no pay-per-use. Generate as often as you like at the same cost.
One continuous workflow
From generation to export without switching between tools.
Always able to go back
Every operation is saved as a new version, so you can return to an earlier state at any time.
Eight stages, in order.
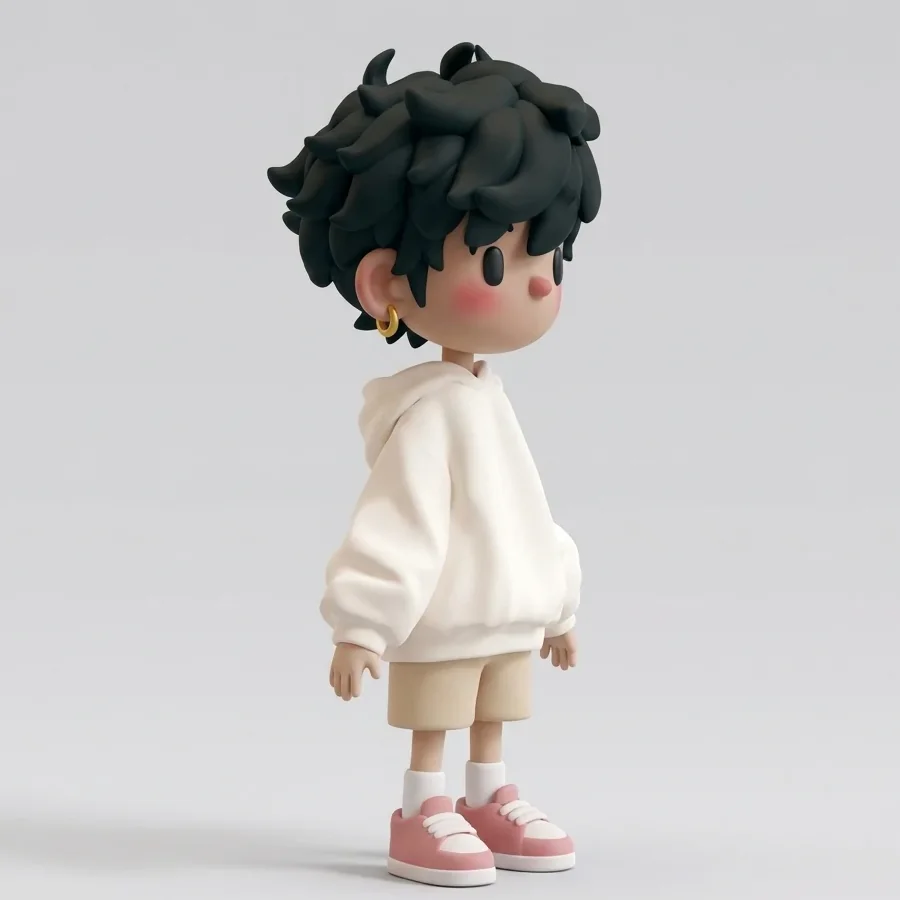
Generate a 3D model from photos.
Drop your photos, choose a model and press the button. One photo is enough; with several, the app works out which view each one is. The more photos, the more accurate the sides and back. Click “3D MODEL” to rotate the result yourself.
- Four kinds of input: image, text, multi-view and batch
- Up to eight views of the subject
- Generation models for each need (fast, top quality + PBR, true to the photo…)
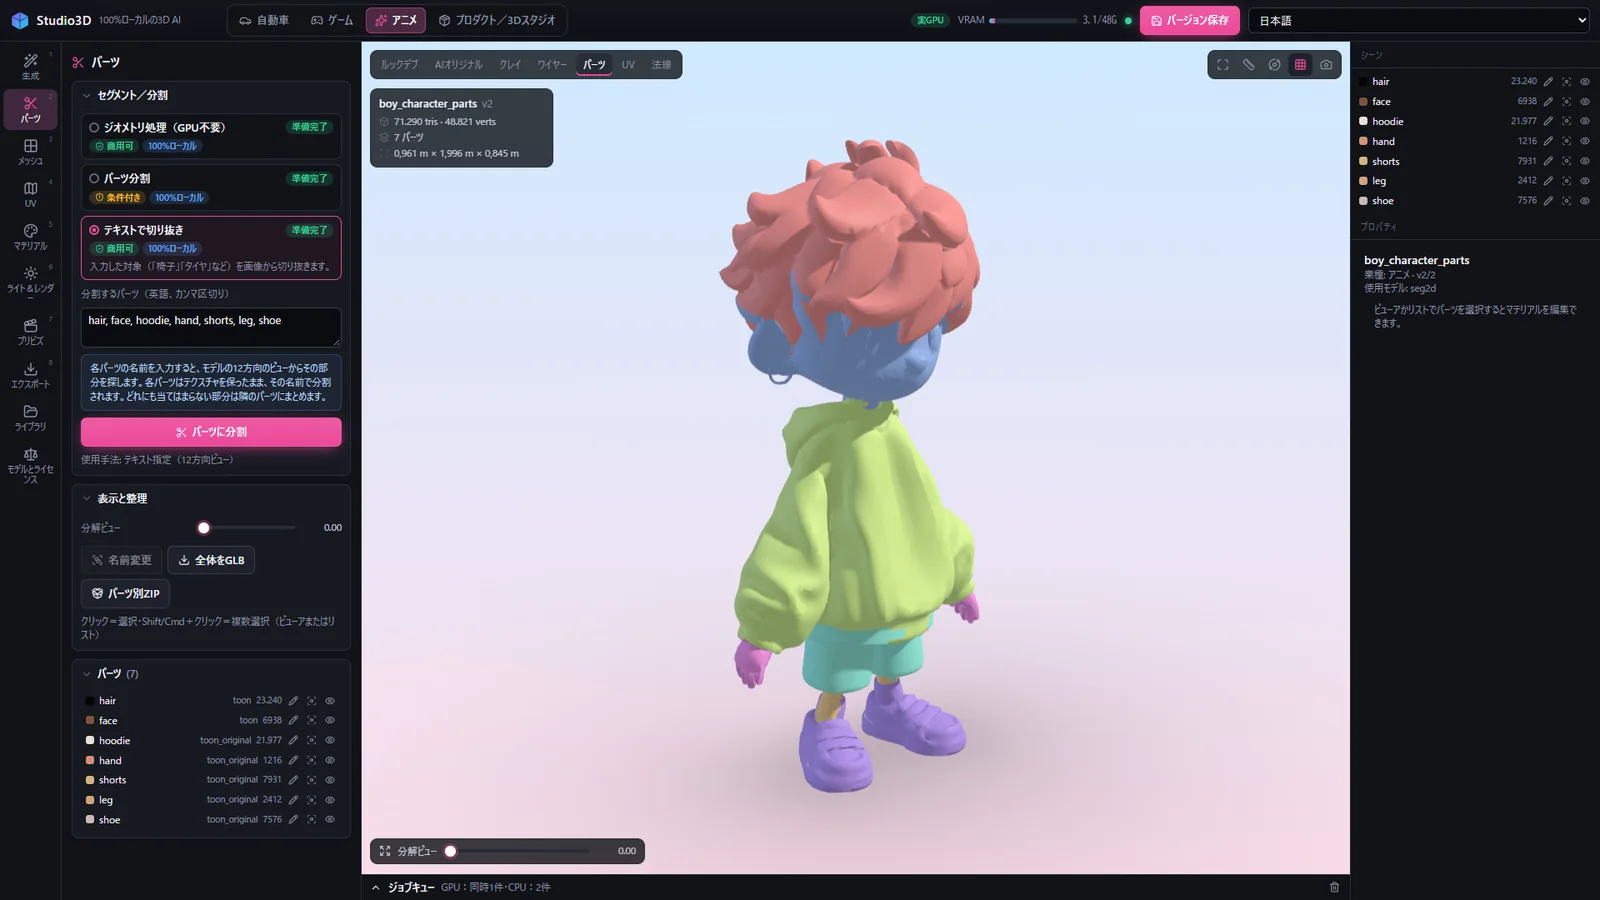
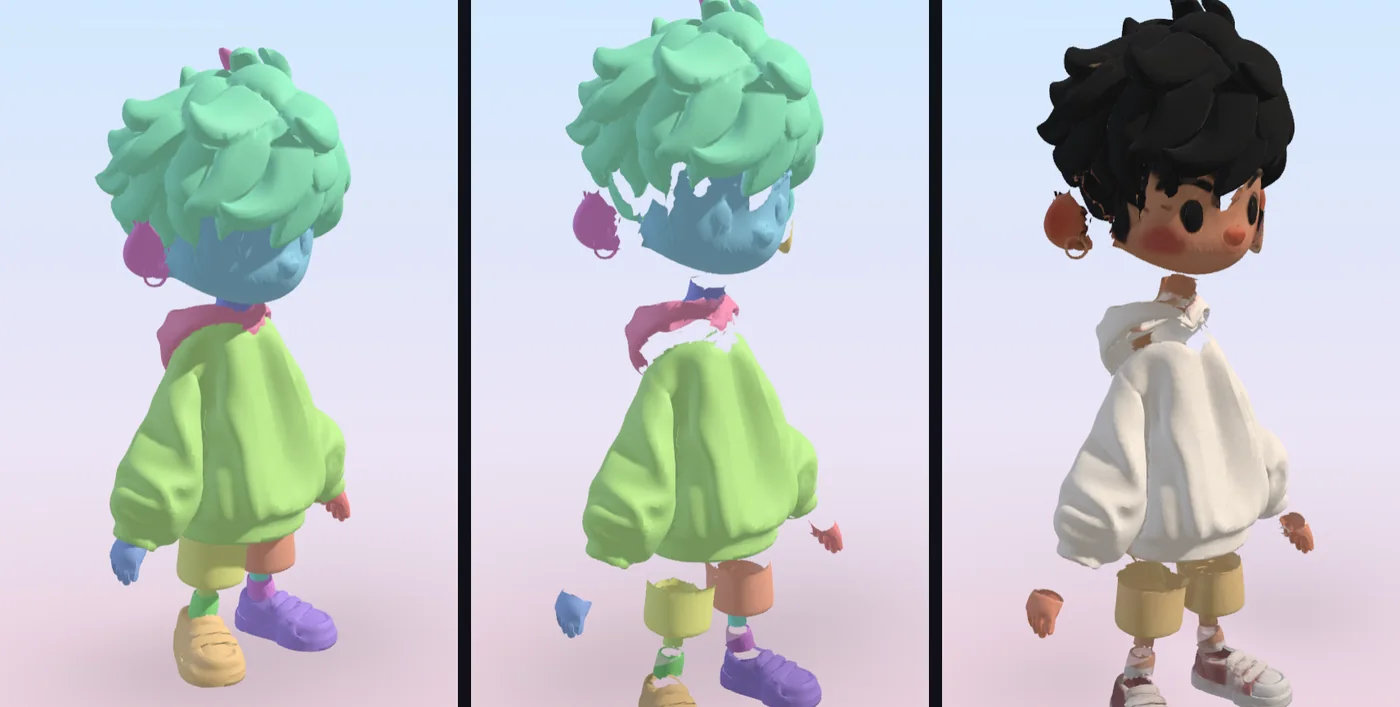
Split the model just by naming its parts.
Type part names such as hair, face or shoe and the app looks at the model from 12 directions, finds each part and cuts the mesh. You can also let the AI decide the parts by itself.
- By text: 7 parts in about 35 seconds
- Automatic: a finer split into 19 parts (about 7–8 minutes)
- UVs and 4K textures are kept
- Change materials or export GLB part by part
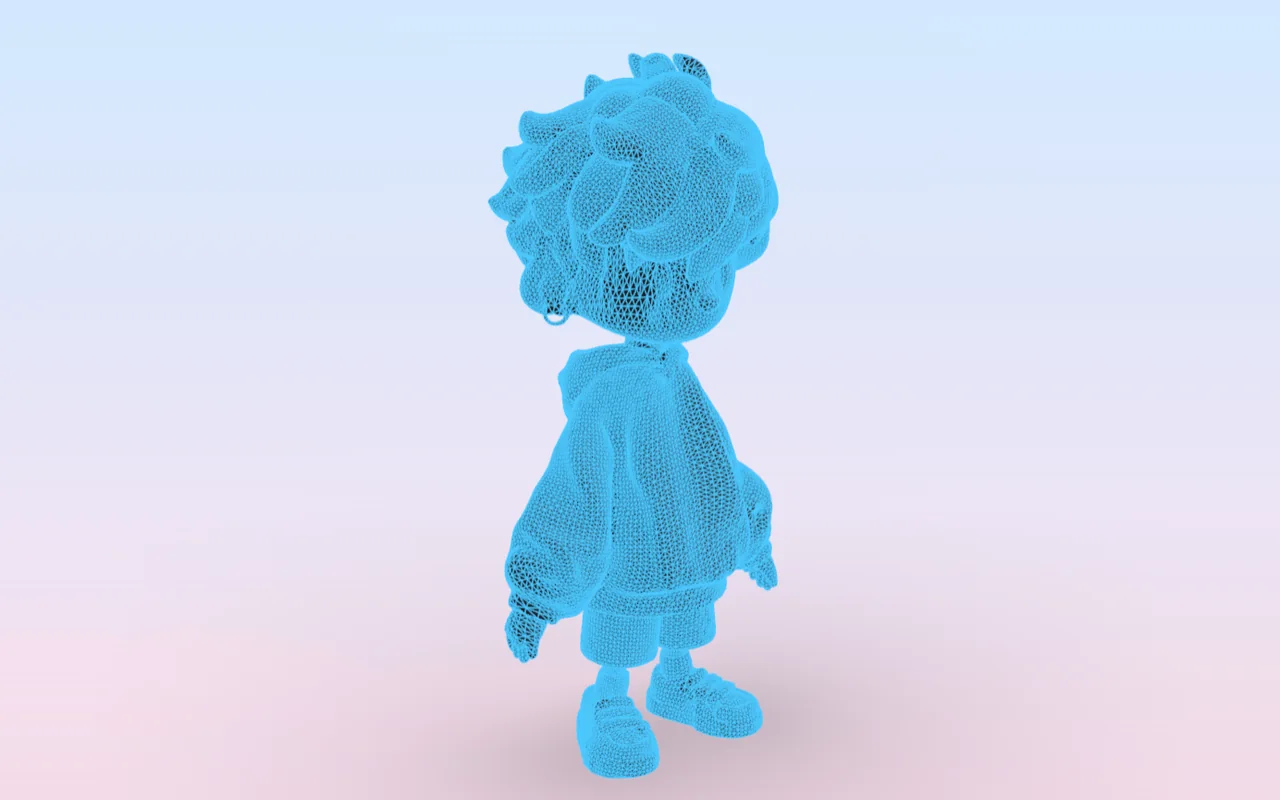
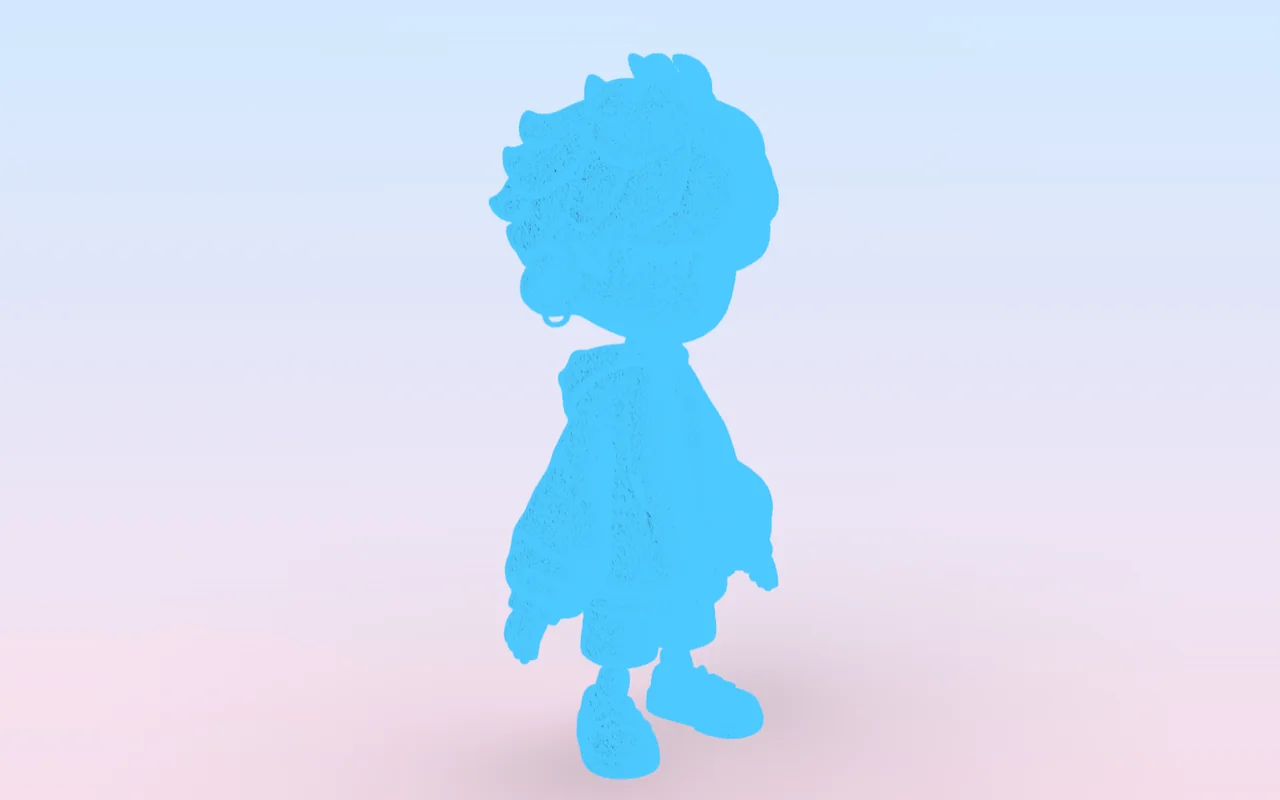
About a tenth of the polygons, the same look.
The generated mesh is rebuilt in quads, and colour, roughness and normals are baked from the original at 4K. Clean-up, decimation, LOD chains and real-world scale are in the same panel. Drag the slider to compare.
- Triangles: 699,999 → 71,290
- Rebuilt with 35,645 quad faces
- Real-world scale (mm / cm / m) and pivot
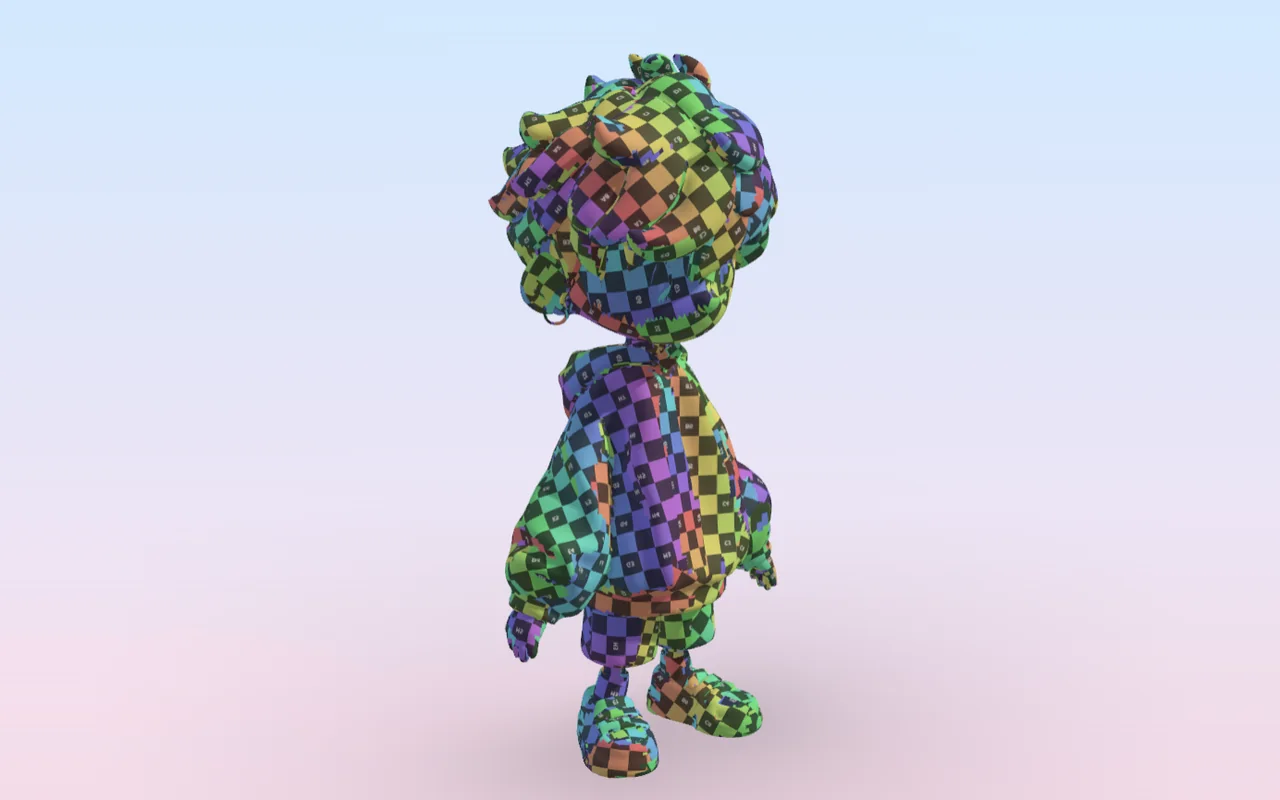
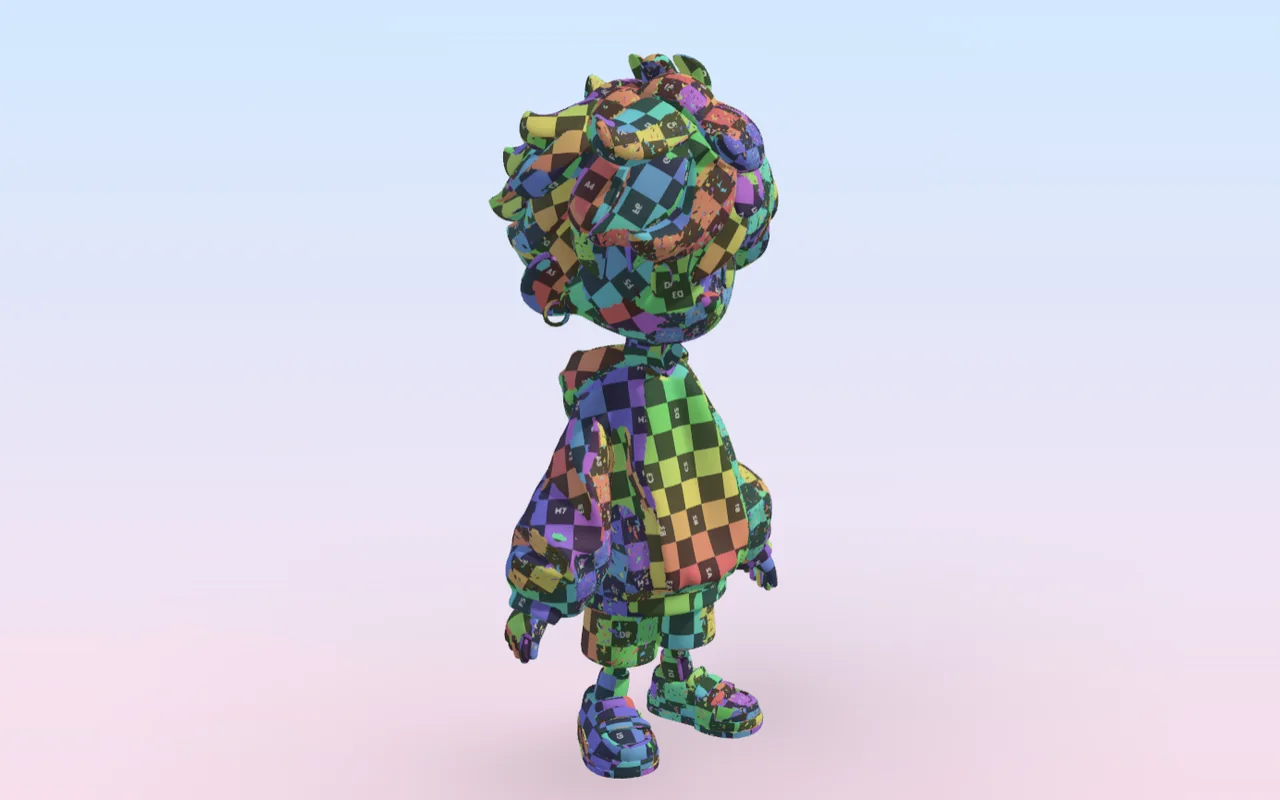
Unwrap the UVs and even out the density.
Choose the method (single atlas, per part or UDIM), resolution, padding and texel density, then unwrap and check it with the checker view. The more regular the squares, the more even the texture resolution over the whole model.
- UV islands: 10,947 → 961
- Lock texel density to your sector’s target (e.g. 512 px/m)
- Check the island layout in the 2D UV viewer
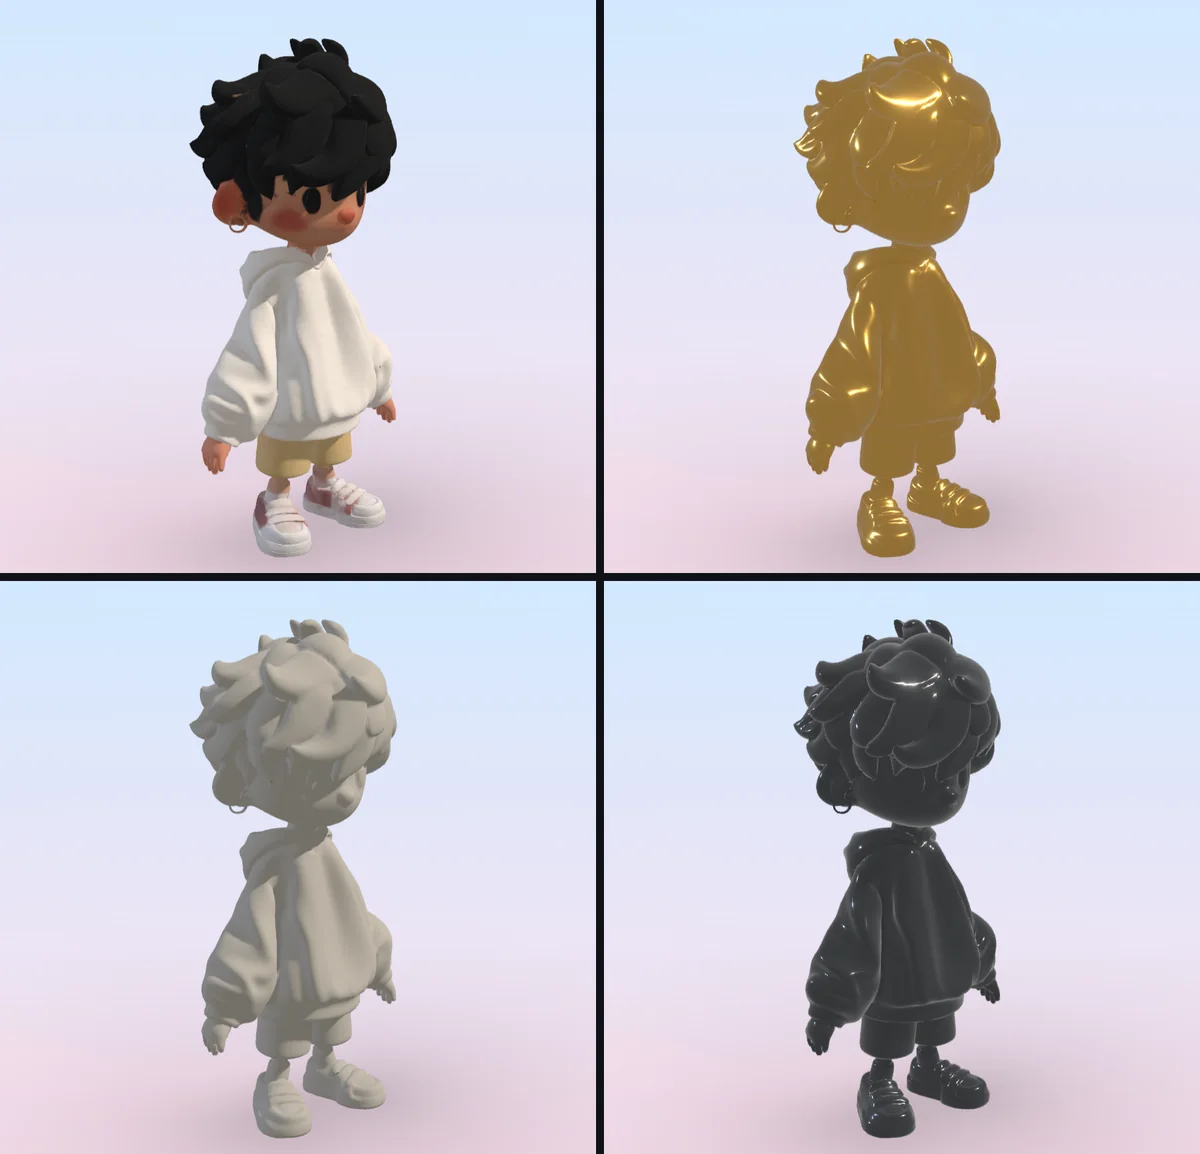
Change the finish with one click.
Select parts and pick a preset. There are about 30 presets in seven categories: automotive, metal, glass, organic, plastic, toon and special.
- Automatic assignment per part
- AI repainting of textures
- Bake and export the maps
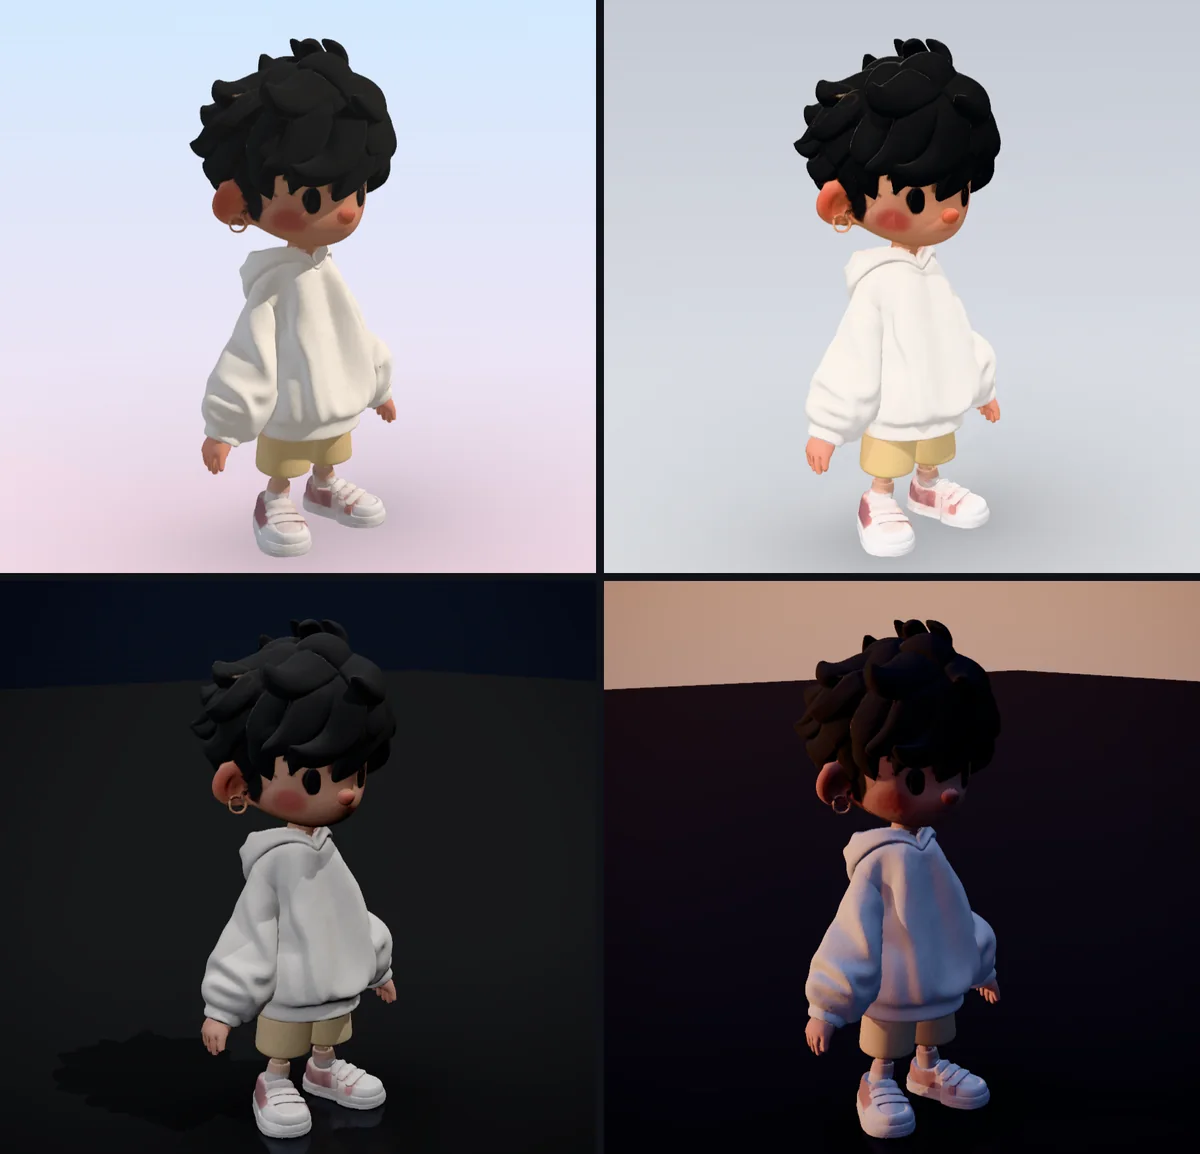
Pick the lighting and render straight away.
Choose a studio preset and adjust the HDRI, lights, floor and background. The lighting environments are generated inside the app, so there are no HDRIs to download.
- Five studio presets
- Output PNG stills, turntable video and final renders
- Tone mapping, depth of field and anime outlines
- Your own .hdr / .exr files can be loaded too
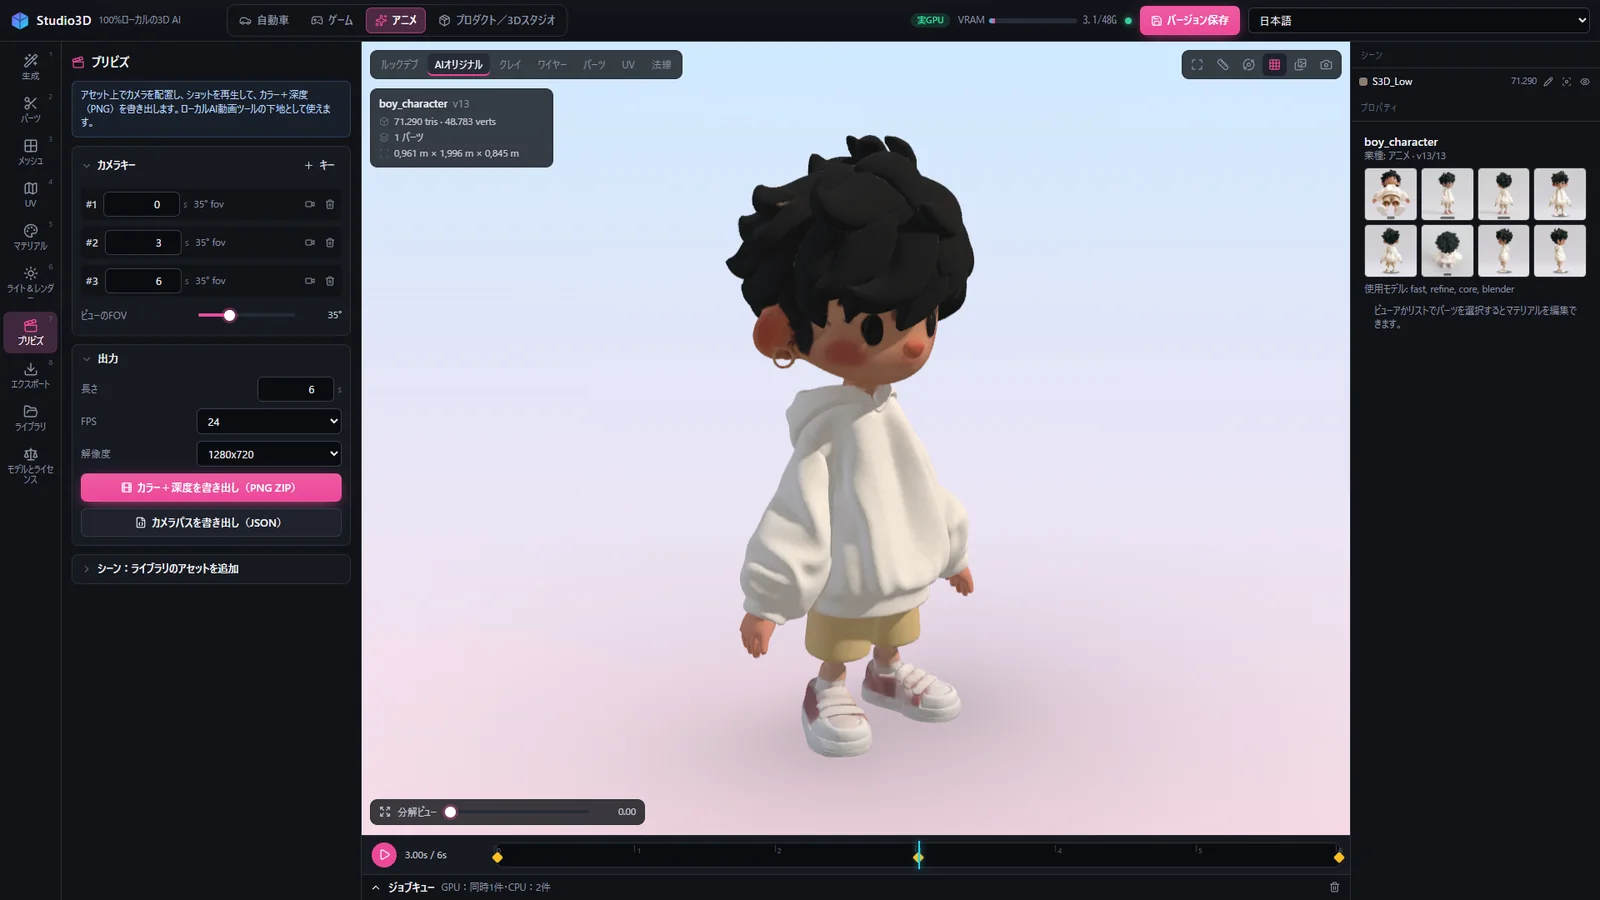
Block the camera move and export the base for video.
Frame the view, add camera keys and check the move on the timeline. Export colour + depth image sequences and the camera path to use as the base for video work.
- Set length, FPS and resolution
- Colour + depth (PNG) and camera path (JSON)
- Shots with several models in the scene
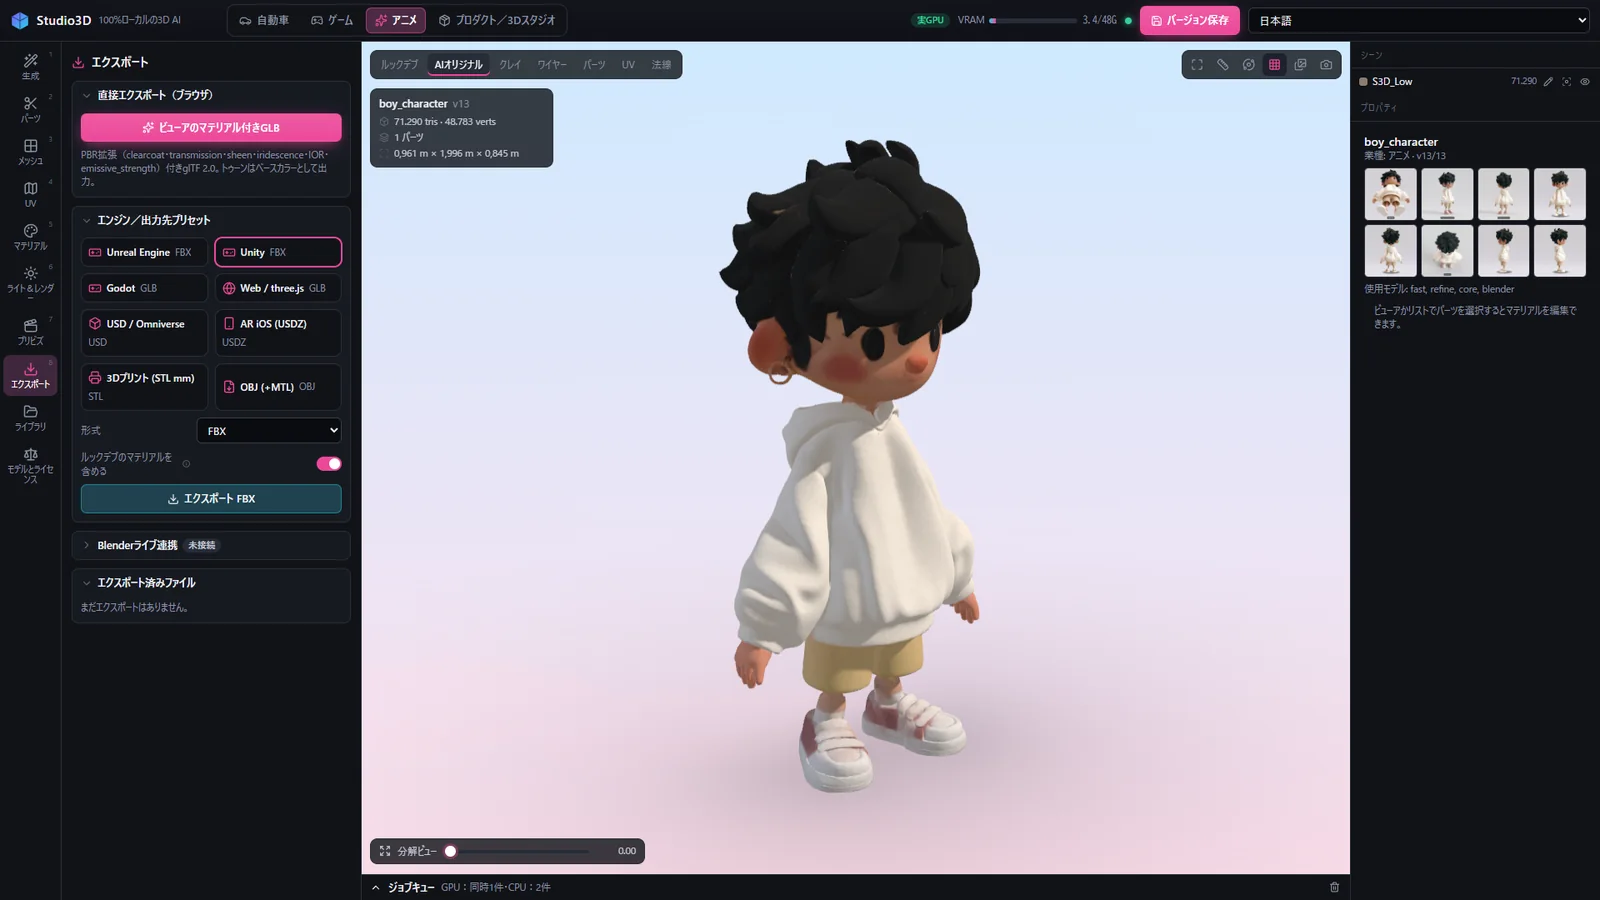
Export for the tool you use.
Pick a target preset and confirm the format. With Blender, an add-on sends models back and forth directly.
Four presets, one for each sector.
Switch the default units, lighting and materials to suit your sector.
Automotive
Showroom lighting and automotive materials.
Games
Neutral lighting, with LODs and texel density ready for the engine.
Anime
Cel-style lighting, outlines and toon materials.
Product / 3D studio
Studio lighting and checks at real-world scale.
Deployment and services
Choose the way of working that suits you.
Licence
We install Studio3D on your PCs or servers. Choose between a subscription and a one-time purchase.
On-site installation and training
From set-up and first configuration to hands-on training, with a manual included.
3D production service
Send us your photos or illustrations and we deliver 3D data with retopology, UVs and textures done.
- 01
Consultation
We ask about your use case and pipeline.
- 02
Demo
The real app, from generation to export.
- 03
Trial / PoC
Check the results on a small project.
- 04
Deployment
Installation and training.
Frequently asked questions
Does it work without the internet?
Yes. Everything from generation to export runs on your own PC. Models and photos are never sent anywhere else.
What kind of PC do I need?
A PC with an NVIDIA GPU. Depending on the generation model, plan for 6 to 32 GB of VRAM. We can advise on the configuration.
Can I use it on 3D models I already have?
Yes. Import GLB, OBJ, STL or PLY models and start from part splitting, retopology, UVs, materials or any later stage.
Does it work with Blender and other tools?
With Blender, an add-on sends models back and forth directly. There are also export presets for Unreal Engine, Unity, Godot, USD and more.
How much does it cost?
We make a proposal to fit how you want to work (subscription, one-time purchase or production service) and your environment. Get in touch to start.
* Figures were measured on a workstation with an NVIDIA RTX 6000 Ada (48 GB). Results vary with the input images and settings.
From idea to usable 3D data the same day.
Ask us for a demo or a proof of concept.